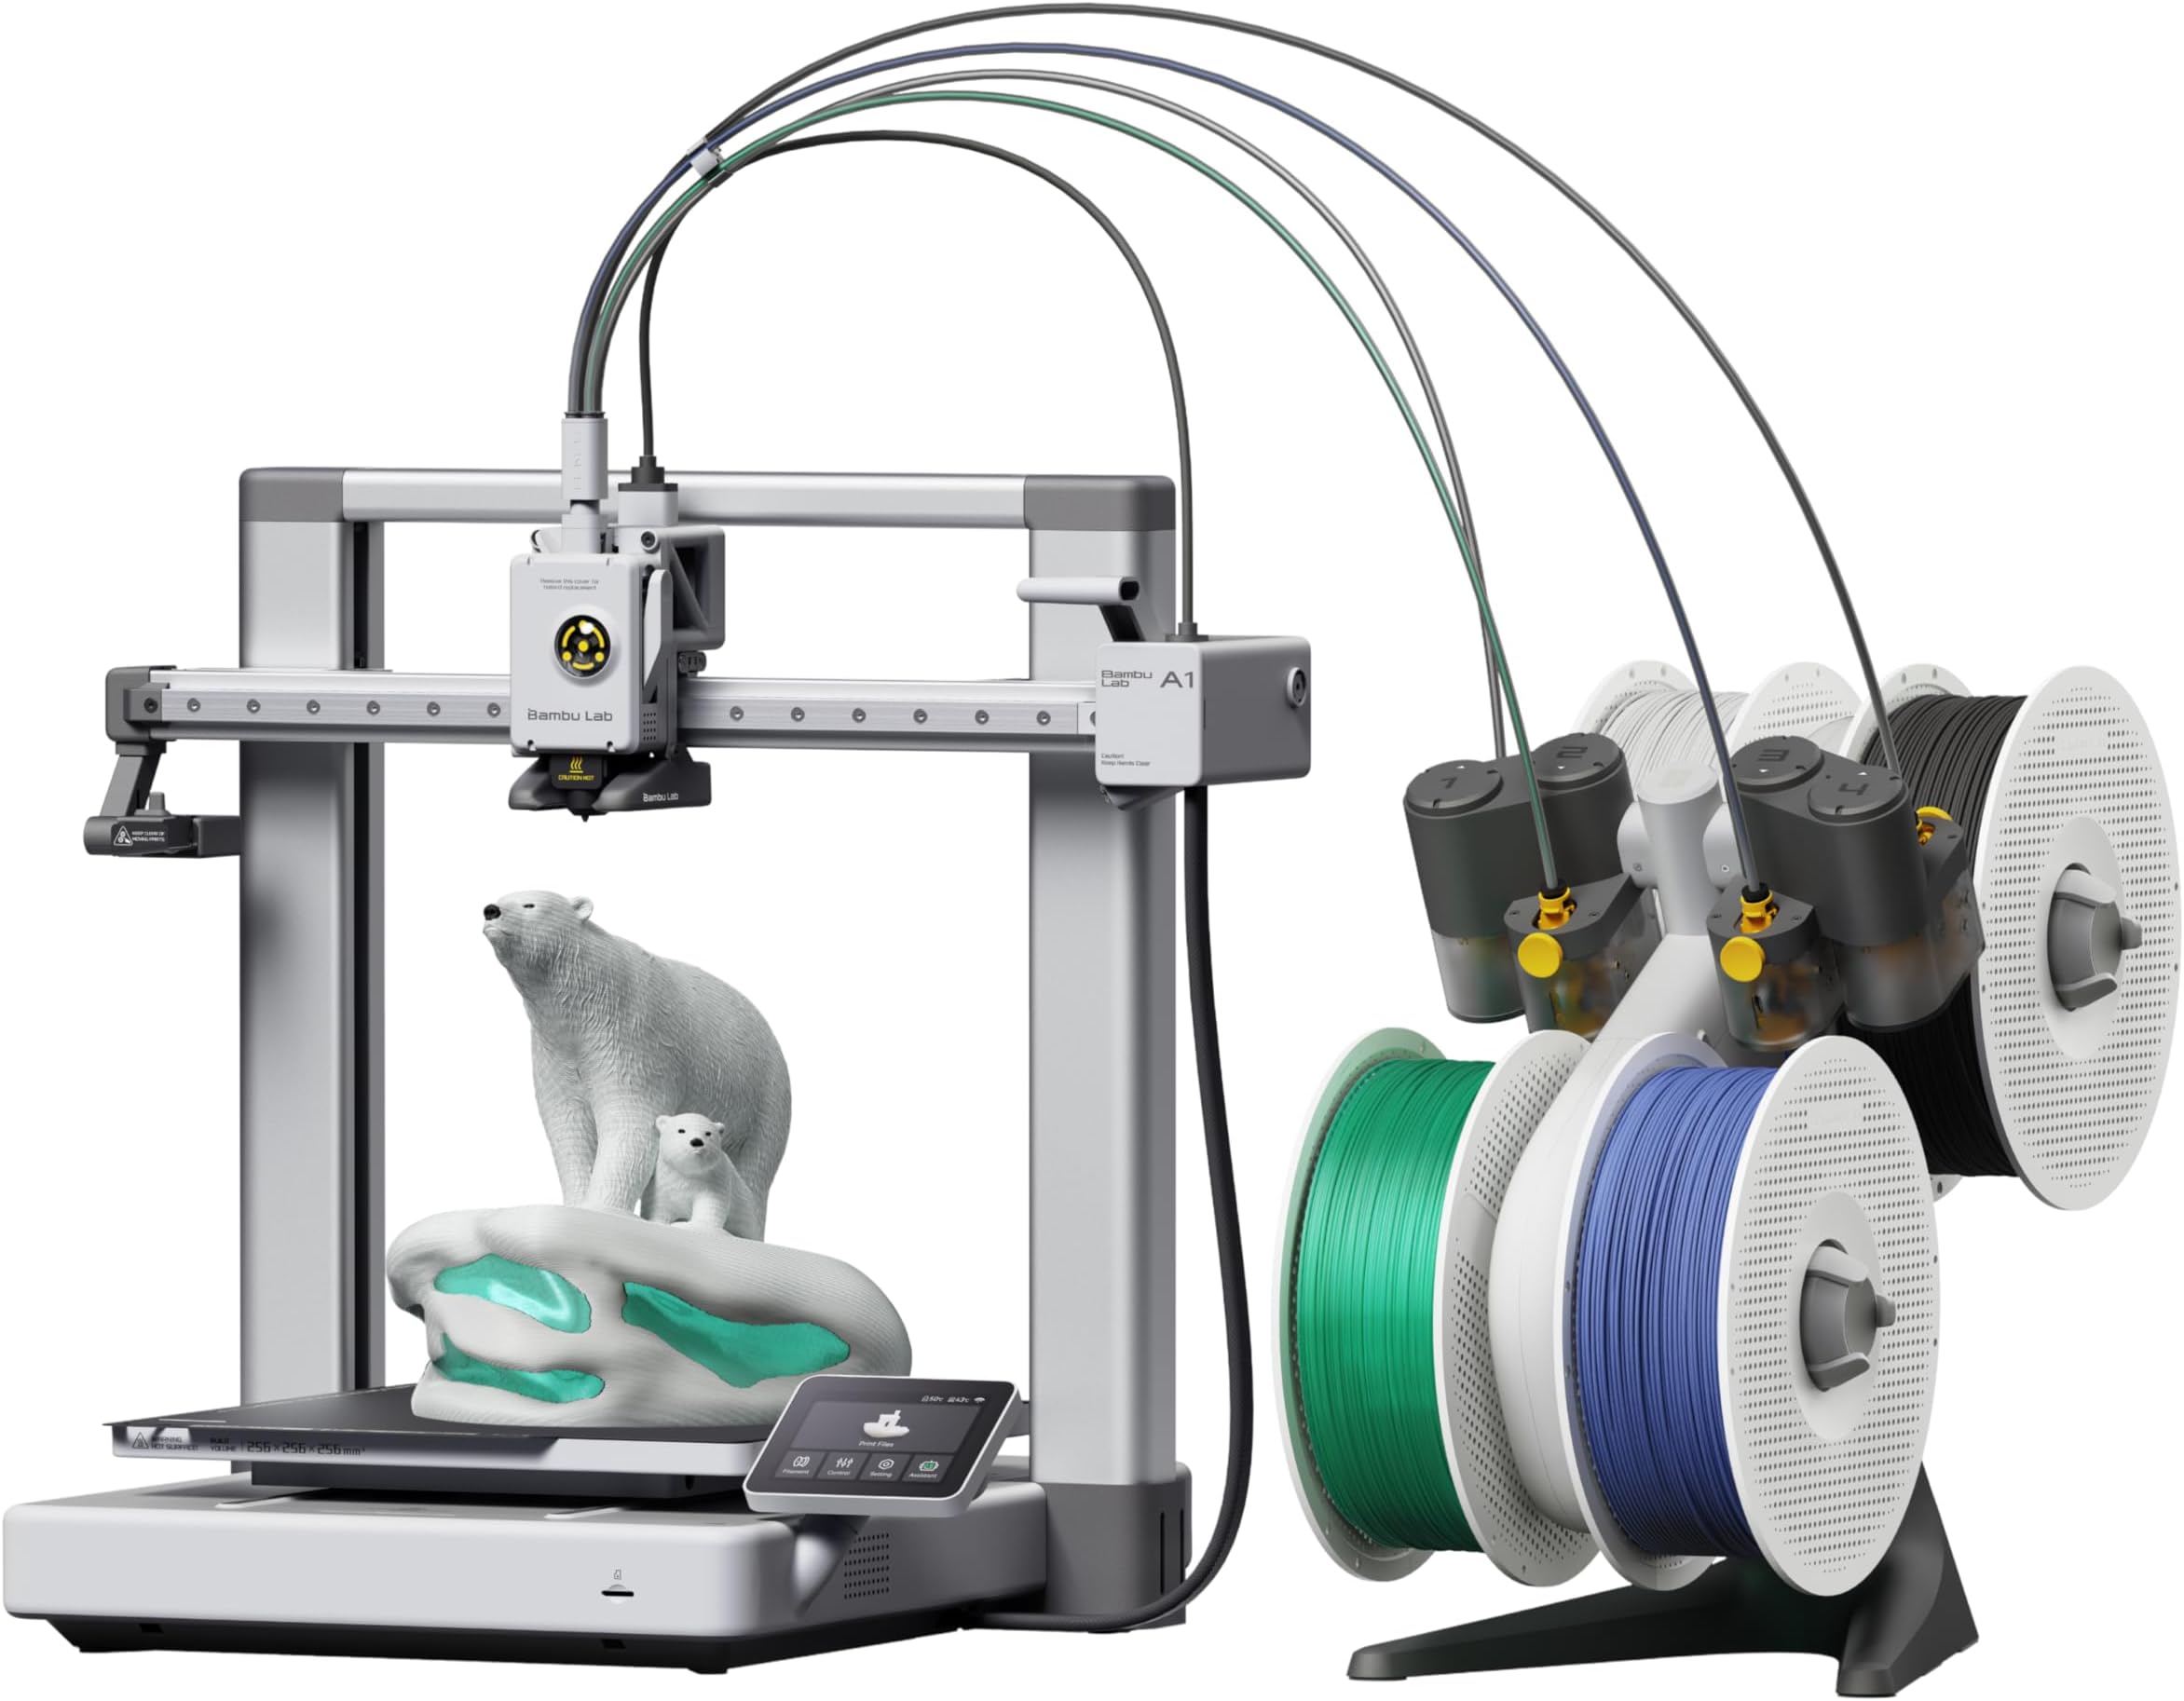
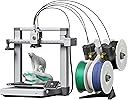
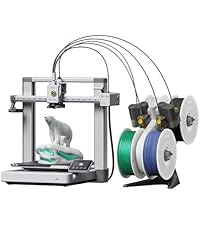
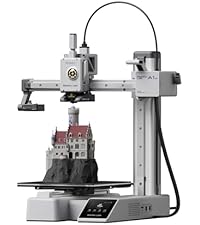
Bambu Lab A1 Combo, A1 3D Printer and AMS lite, Support Multi-Color 3D Printing, High Speed & Precision, Full-Auto Calibration & Active Flow Rate Compensation, ≤48 dB Quiet FDM 3D Printers
Details
- BrandBAMBULAB
- ColourGrey
- Compatible devicesLaptop
- MaterialMetal
- Supported file formatSTL
Buy anything from 5,000+ international stores. One checkout price. No surprise fees. Join 2M+ shoppers on Desertcart.
Desertcart purchases this item on your behalf and handles shipping, customs, and support to UK.
Details
- BrandBAMBULAB
- ColourGrey
- Compatible devicesLaptop
Description
🎯 Print Fast, Print Smart, Print Quiet — The Future of 3D Creativity is Here!
- BLAZING FAST PRECISION - Experience up to 10000 mm/s acceleration without sacrificing print quality—speed meets accuracy.
- WHISPER QUIET WORKFLOW - Work or create in peace with noise levels under 48 dB, thanks to active motor noise cancellation.
- STABLE FLOW FLAWLESS PRINTS - Active Flow Rate Compensation ensures consistent extrusion for professional-grade results every time.
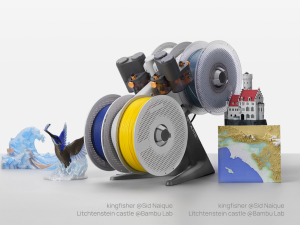
- VIBRANT MULTI COLOR CREATIVITY - Unlock your imagination with AMS lite for seamless multi-color 3D printing that stands out.
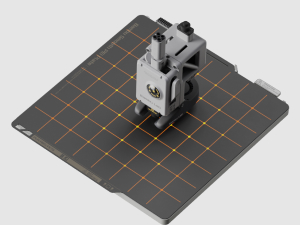
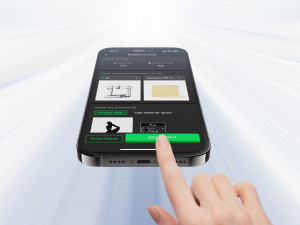
- EFFORTLESS FULL AUTO CALIBRATION - Say goodbye to manual setup—fully automatic calibration gets you printing faster and smarter.
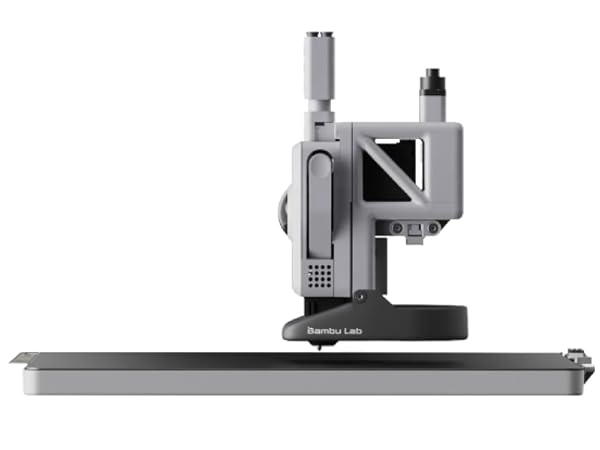
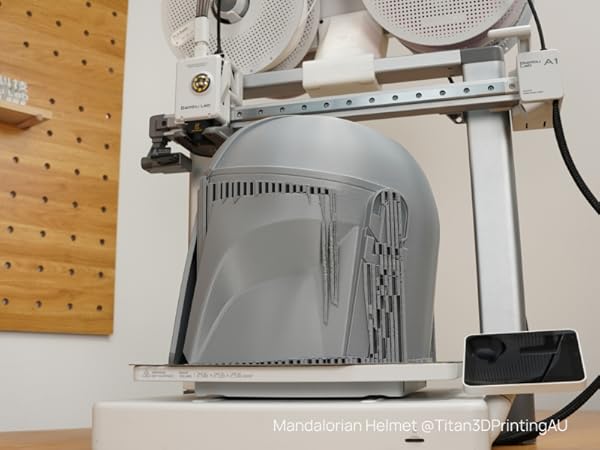
The Bambu Lab A1 Combo pairs a high-speed, high-precision FDM 3D printer with the AMS lite multi-material system, enabling vibrant multi-color prints. Featuring fully automatic calibration and active flow rate compensation, it delivers consistent, professional-quality models with minimal noise (≤48 dB). Compact and beginner-friendly, it connects via USB and supports STL files, making it ideal for creative professionals and managers seeking efficient, reliable 3D printing solutions.


Specifications
| ASIN | B0D17V4SKM |
| Item model number | PF002-A |
| Product Dimensions | 59.6 x 42.5 x 53.6 cm; 13 kg |
Common Questions
Trustpilot